






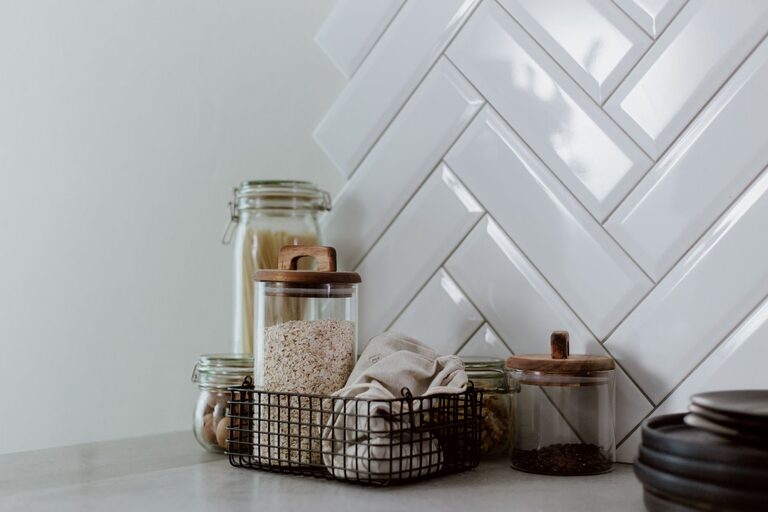
Having a clutter-free kitchen counter can greatly improve your cooking experience and the overall look of your kitchen. A tidy workspace not only makes meal prep easier but also creates a welcoming atmosphere for family and guests. If your counters are often covered with appliances, utensils, and random items, don’t worry — with some straightforward strategies, you can reclaim your kitchen surfaces and keep them neat.
In this post, we’ll explore practical steps to organize your kitchen counters and maintain their clutter-free state.
Why Keep Kitchen Counters Clutter-Free?
Before diving into tips, it’s helpful to understand the benefits of a clean and organized countertop:
– Improves Efficiency: Plenty of clear space means you can chop, mix, and prepare food without constantly moving items around.
– Enhances Cleanliness: Fewer items on counters make it easier to wipe down surfaces and reduce the buildup of dust and crumbs.
– Boosts Aesthetics: Clean counters help your kitchen look tidy, spacious, and inviting.
– Reduces Stress: A clutter-free environment often leads to a calmer mindset and more enjoyable cooking.
Step 1: Clear Everything Off
Start by removing everything on your counters. This blank slate helps you assess what you really use and need on hand.
– Place items on a table or another flat surface.
– Group similar items together (e.g., utensils, appliances, decorations).
– Clean your countertops thoroughly.
Step 2: Sort and Declutter
Evaluate each item you removed and ask yourself:
– Have I used this in the last month?
– Does it belong in the kitchen or somewhere else?
– Is it purely decorative, or does it serve a purpose?
Items you rarely use should be stored away or donated if unnecessary.
Step 3: Designate Zones for Essential Items
Identify which items you use daily or frequently and consider keeping them on the counter for convenience, but in an organized manner. Common zones might include:
– Coffee Station: Coffee maker, mugs, and supplies.
– Cooking Zone: Olive oil, salt, pepper, and frequently used spices.
– Preparation Zone: Cutting boards, knives, and mixing bowls.
Keeping these essentials in specific zones minimizes clutter and makes everything easy to find.
Step 4: Utilize Vertical and Hidden Storage
To free up counter space, make use of your cabinets and vertical storage options:
– Wall-mounted Shelves or Racks: Great for spices, mugs, or utensils.
– Under-cabinet Hooks: Hang mugs, measuring cups, or small pots.
– Drawer Organizers: Keep cutlery and smaller tools neatly arranged.
– Appliance Garages: Hide appliances that you want handy but not constantly visible.
By storing items off the counter, you maintain accessibility without overcrowding your workspace.
Step 5: Limit Counter Decor
While decorative items can add personality to your kitchen, too many can lead to clutter. Stick to one or two meaningful decor pieces, like a small plant or a stylish fruit bowl, and rotate them occasionally.
Step 6: Manage Cords and Small Appliances
Electrical cords from appliances like toasters and coffee makers can contribute to visual clutter. Here are tips to tame cords and appliances:
– Use cord clips or ties to bundle cords neatly.
– Store small appliances in cabinets when not in use.
– Choose appliances with compact designs or multifunctionality to reduce the number of devices.
Step 7: Create Daily Maintenance Habits
Keeping counters clutter-free is easier when you make it part of your routine:
– Wipe down counters daily.
– Put items back in their designated spots after use.
– Regularly reassess what you keep on the counters to avoid unnecessary buildup.
Bonus Tips for Specific Clutter
– Mail and Paperwork: Use a wall-mounted organizer or a basket placed out of sight.
– Kids’ Items: Create a dedicated bin or drawer for school lunches or snacks to avoid loose packaging on counters.
– Cleaning Supplies: Store spray bottles and sponges under the sink instead of on counters.
Conclusion
A clutter-free kitchen counter is achievable with thoughtful organization and consistent habits. By clearing, sorting, designating spaces, and utilizing smart storage solutions, you can enjoy a more functional and visually pleasing kitchen space. Start small, and you’ll notice how much easier cooking and cleaning become when your counters are open and inviting.